Showing posts with label Recipe. Show all posts

Sunday, November 16, 2014

Pie for Dinner?

I first made this shepherd's pie for a Superbowl party nine years ago, and I've made it almost every Superbowl since.  I don't know why I haven't made it more often in between.  It's easy, feeds a lot of people (or keeps well for leftovers), and you don't really have to make extra sides with it, because it has meat, potatoes, and vegetables all together.  I no longer use the mashed potato recipe provided, even though it was good on that first try; I just prefer garlic Parmesan mashed potatoes to give a bit more flavor.  Also, I baked it at 350°F for about 40 minutes, because we weren't going to eat until then.  But the broiler works just as well.  So these are general thoughts about the recipe rather than descriptions of what I did wrong.

1)  I would double the gravy recipe.  I didn't this time, because honestly I'd forgotten how little it makes, but the recipe calls for enough ground beef that the extra is probably needed. 
2)  If you want to speed up the preparation process, you can use microwavable frozen potatoes that are already cut up and peeled for the mashed potatoes.  Even though the recipe says that 2 pounds of potatoes should be fork-tender in about 12 minutes, I've always found that it takes a lot longer than that.
3)  You can add any vegetable you like to it if it sounds good to you.  If it's a firmer vegetable, add it with the carrots and onion; if it's a more "mushy" vegetable, add it with the peas.

*************************

First--well, after chopping the onion and carrots--I browned the ground beef, seasoned it with salt and pepper, and drained the fat from the pan.  I didn't use oil because I used ground chuck (it was on sale), so I thought with a nonstick pan and a fattier meat, oil would only make everything greasy.  Then I added the carrot and onion and cooked for about five minutes more.


I melted the butter, stirred in the flour to make a light roux, then added the Worcestershire and slowly whisked in the beef stock until a thick gravy formed.


Just after I melted the butter, I stirred the peas in with the meat and other vegetables. When the gravy was done, I stirred it in as well, then spread the mixture into a 9"x13" casserole dish.


While the meat and gravy was cooking, I microwaved the potatoes (10 minutes).  For the mashed potatoes, I minced three cloves of garlic and heated it with a cup of half and half in a small saucepan until simmering. Then I stirred that into the potatoes until smooth, added 5 ounces of grated Parmesan cheese, and salted and peppered to taste.  
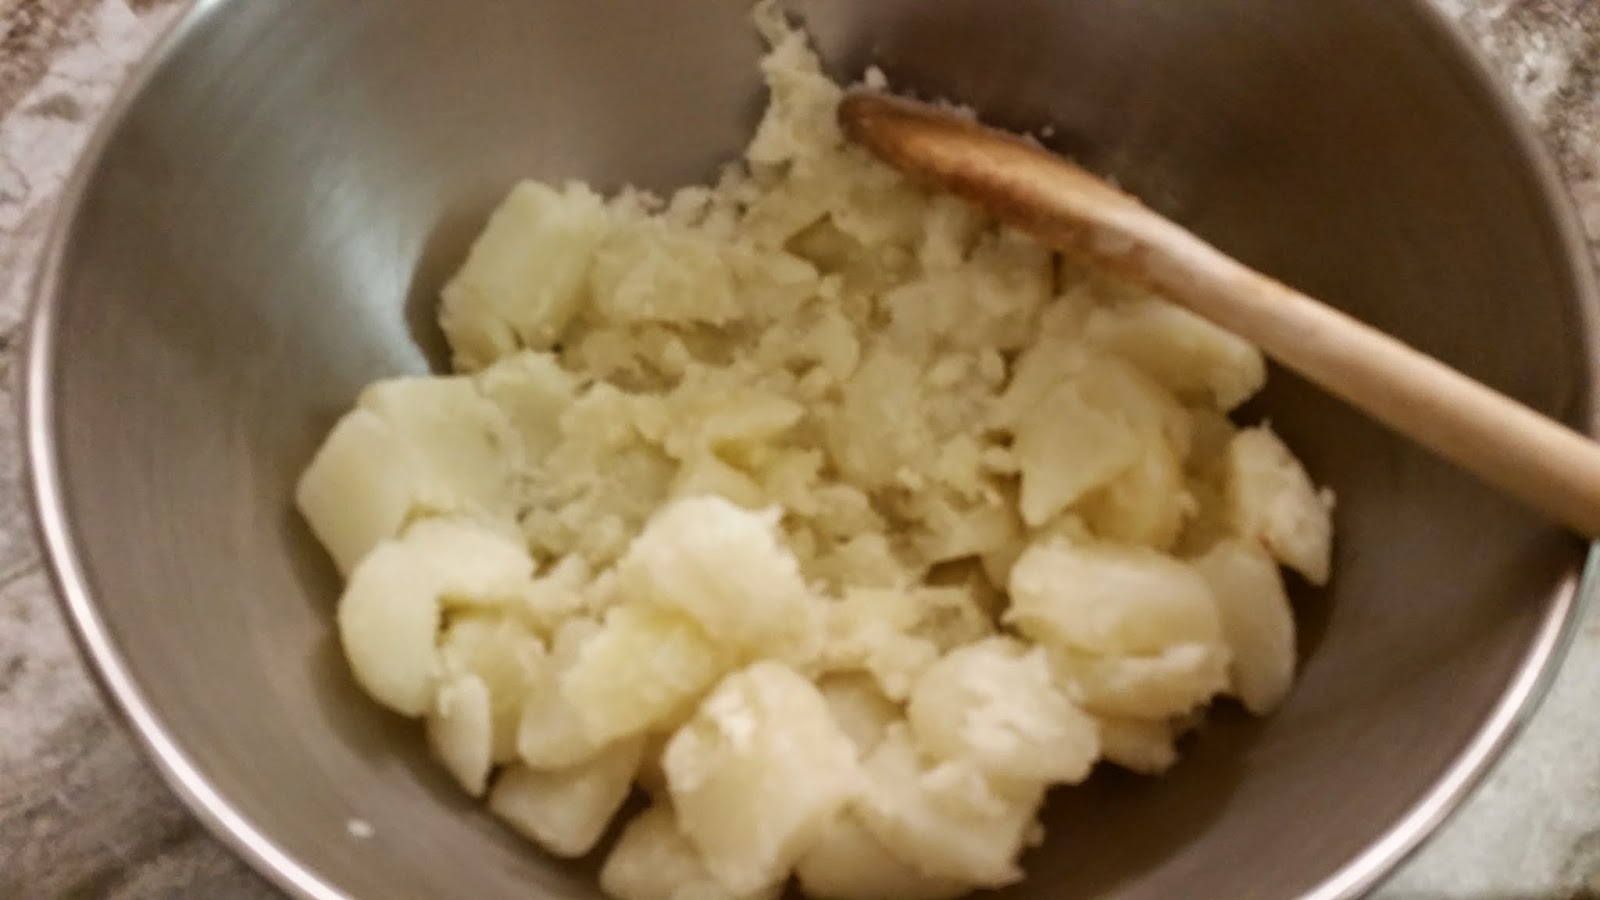

Finally, I spread the mashed potatoes on top of the meat and vegetables and topped the whole thing with shredded cheddar cheese


I baked it for 35-40 minutes, and it fed two of us for about four days... and that's probably why I usually save it for parties!


DEEMS THIS RECIPE:
... much easier than dessert pies! 


Thursday, July 10, 2014

Midweek Recipe.

There isn't an actual roundup this week, but here is a recipe for cookies!

3 cups all-purpose flour
1 cup packed light brown sugar
1 cup white sugar
1 tsp salt
1 tsp baking soda
2 sticks (1 c) butter
2 large eggs
2 tsp vanilla
12 oz package of chocolate chips
11 oz package butterscotch chips*

1)  Preheat oven to 350°F.

2)  Combine the dry ingredients (flour, baking soda, and salt) and set aside.

3)  Cream the butter and sugars together until fluffy.

4)  Add eggs one at a time, beating after each, then add vanilla and beat until well combined.

5)  Slowly beat in dry ingredients.

6)  Stir in chips.

7)  Spoon dough by the ~tablespoonful onto ungreased cookie sheet.

8)  Bake for 15-20 minutes until light brown.


DEEMS THIS RECIPE:
Much, much easier than pie.


*You can use regular chocolate chips or another flavor if you like.

Sunday, July 6, 2014

Sweet & Salty.

I like bacon.  I haven't quite fallen in step with the current "bacon is the ultimate food and should be eaten with everything" trend, but I like bacon.  I do, however, feel strongly about chocolate, which is the ultimate food.*  When I can't decide between something sweet or something salty, I prefer simply to add chocolate to salty snacks.  Chocolate and pretzels.  Chocolate and popcorn.  Chocolate and Ritz crackers (it works... I promise).   So I wasn't going to pass up a recipe for chocolate bacon cupcakes. And what goes better with bacon than maple syrup and with chocolate than buttercream frosting? Well, possibly cold milk, but maple buttercream frosting is what I made.

Also, I did not even know these existed until now.
But dipping them in really good chocolate is better, no?

There were a few things I changed from the original recipes to get the cupcakes and frosting just right and make the process a bit easier:

1) Microwaved the bacon.  It's easier to crumble if the bacon is more dehydrated, and the flavor once in the cupcakes is still good.  You just want crispier bits that aren't too chewy.** 
2) Used 4 (yes, 4) cups of sifted powdered sugar instead of the 3/4 cup called for in the recipe. Because a nearly 1:1 butter-to-sugar ratio plus extra liquid in a buttercream frosting makes no sense at all.  I also used a different process than the one described in the recipe, which I'll explain below.
3) Used a little less than a 1/4 tsp maple flavoring along with the maple syrup.  If you use Grade B syrup, the flavor is more intense and you don't have to use flavoring, but I only had Grade A, and good maple syrup can be expensive.***

See here for more information about 
Grade A versus Grade B maple syrup.


Now for cupcake making time!

First, I made coffee.**** I don't have a picture of this because I had to make it earlier to cool enough, but you can make the coffee however is easiest for you.  Just make sure it's strong and not hot when added to the batter.  Another thing I don't have a picture of is bringing the eggs and other cold ingredients (besides the buttermilk) to room temperature.  This helps prevent over mixing.  (If you want to bring eggs to room temp quickly, you can place them in a bowl of lukewarm water.)

After attending to those steps, I microwaved the bacon.  I did two batches, putting 6-7 slices on a paper towel on a microwave-safe place and microwaving ~1 minute per slice.  Check on them occasionally, because some microwaves run hot.  Crispy is great, but burnt might not be as palatable!  I crumbled the cooked bacon and set it aside.  I saved about two crumbled slices for topping the cupcakes.


After preheating the oven, I combined all dry ingredients for the cupcakes in a large bowl, then made a well in the center and added the wet ingredients. After stirring everything together only a few times, I added the bacon and continued stirring until all ingredients were just combined.  Over mixing batter yields less fluffy, chewier cupcakes.


Then I took a ladle and spooned the batter into prepared cupcake tins (the recipe made enough for roughly 30 cupcakes) until they were about 2/3 full and baked for 20 minutes, until the tops were springy and a fork came out clean.  I used the convection oven, so it took less time than it might have otherwise. To prevent the cupcakes from falling, try not to open the oven at least until toward the end of the baking time, and if you aren't sure if cupcakes are done, err on the side of less done. As long as they don't wobble like pudding, they will continue to cook slightly from the residual heat of the pan.

To get the cupcakes out, wait until they're cool enough to handle and run a knife along the edges of the cups. They should then be easy to gently lift out by the tops. Or you can then just say "To heck with it," and flip them over onto the counter.


On to the frosting.  Before starting, I sifted 4 cups of powdered sugar.  I have made buttercream with unsifted sugar and it works, but sifting does make it easier to tell when the frosting has reached the right consistency and make it easier to pipe if you're going that route.


Then instead of just dumping all the ingredients together and mixing, I used the more traditional method for making buttercream frosting and whipped the butter first until light and fluffy.  Then I added powdered sugar and syrup alternately until I reached a thick buttercream texture.  I ended up using about 3/4 cup of syrup and all the sugar. If you reach the desired consistency before that and the maple flavor isn't evident, you can do what I did and add flavoring along with the vanilla and salt.  Do add the vanilla before you finish adding sugar, because it will affect the consistency as well.


Once the frosting was thick and rather stiff, I put it into a piping bag and piped it onto the cupcakes.  It isn't really possible for one person to take pictures of this process, but this tutorial is very helpful.  I don't make cupcakes often and am no professional decorator, so they aren't perfect, but I'm getting better at it with practice!  I used a large open star tip for these.


Finally, I sprinkled the spare bacon crumbles on the tops, and the cupcakes were ready to take for the 4th of July:


DEEMS THIS RECIPE:
Somewhat easier than pie but worth the effort.


*You could argue this point, but you'd be wrong.
**Honestly, bacon bits might work just as well.  I just had a package of bacon on hand.
***Just for one batch of cupcakes I wasn't going to go buy another bottle, but in the future I will probably just buy Grade B instead, and I would have preferred that option.
****For completely separate reasons, most of my cooking begins with this step.

Wednesday, July 2, 2014

Midweek Recipe Roundup.

This weekend there will be chocolate bacon cupcakes.  In the meantime, enjoy some more recipes!

This recipe isn't very difficult, but it does take some time to prepare.  I use ricotta cheese instead of cottage cheese and double the cheese mixture.  I can never estimate the amount of sauce and cheese needed to make the lasagna come out with the same layers every time.  Don't worry about it if you can't divide the sauce into fourths, etc.; just layer them how you like!  I will say it usually bakes the best for me when I end with sauce and put mozzarella on top.

This is a simple no-yeast bread that doesn't require a rise or much kneading.  If you can't find currants--they're a seasonal item at some stores--raisins work as well.  The dough really will be sticky and look a bit flat on the pan before baking, but it comes out in a very nice round loaf.  

Boiled white icing, or "7 minute icing" is great on less-dense cakes like coconut cake. It's very popular for cupcakes or "occasion" cakes.  If you like being more precise than "until mixture is bubbly," cook the sugar, water, and cream of tartar to reach 240 degrees Fahrenheit, or thread stage.  Try not to stir, because this can cause the sugar to crystallize. Add it slowly to the egg whites while whipping.  


DEEMS THESE RECIPES:
All easier than pie.

Friday, June 27, 2014

Banana Pudding in a Pie.

For a Father's Day dinner, I decided to make a banana cream pie.  I found this recipe and used it for the filling.  Instead of using a pastry crust, I used a vanilla wafer crust.   It didn't come out in nice, even slices, because the crust, even when I greased the pie plate, stuck to the bottom and crumbled when I tried to slice it.  But this was not a problem, because it tasted very good.  Just like banana pudding, in fact.  So you can always put this in a trifle dish or other serving dish and serve it as a pudding instead of a pie.

I did make a few changes to the original recipe:
1) Used ~45 vanilla wafers, 1/4 cup of softened butter, and 1 tbsp sugar for the crust instead of a pastry crust.
2) Added 1 1/2 tbsp banana liqueur to the filling with the butter and vanilla.
3) Didn't bake the pie.  I've never seen another baked cream pie (besides baking the crust).  The texture is just right as is, as long as you cook the filling long enough on the stove top.

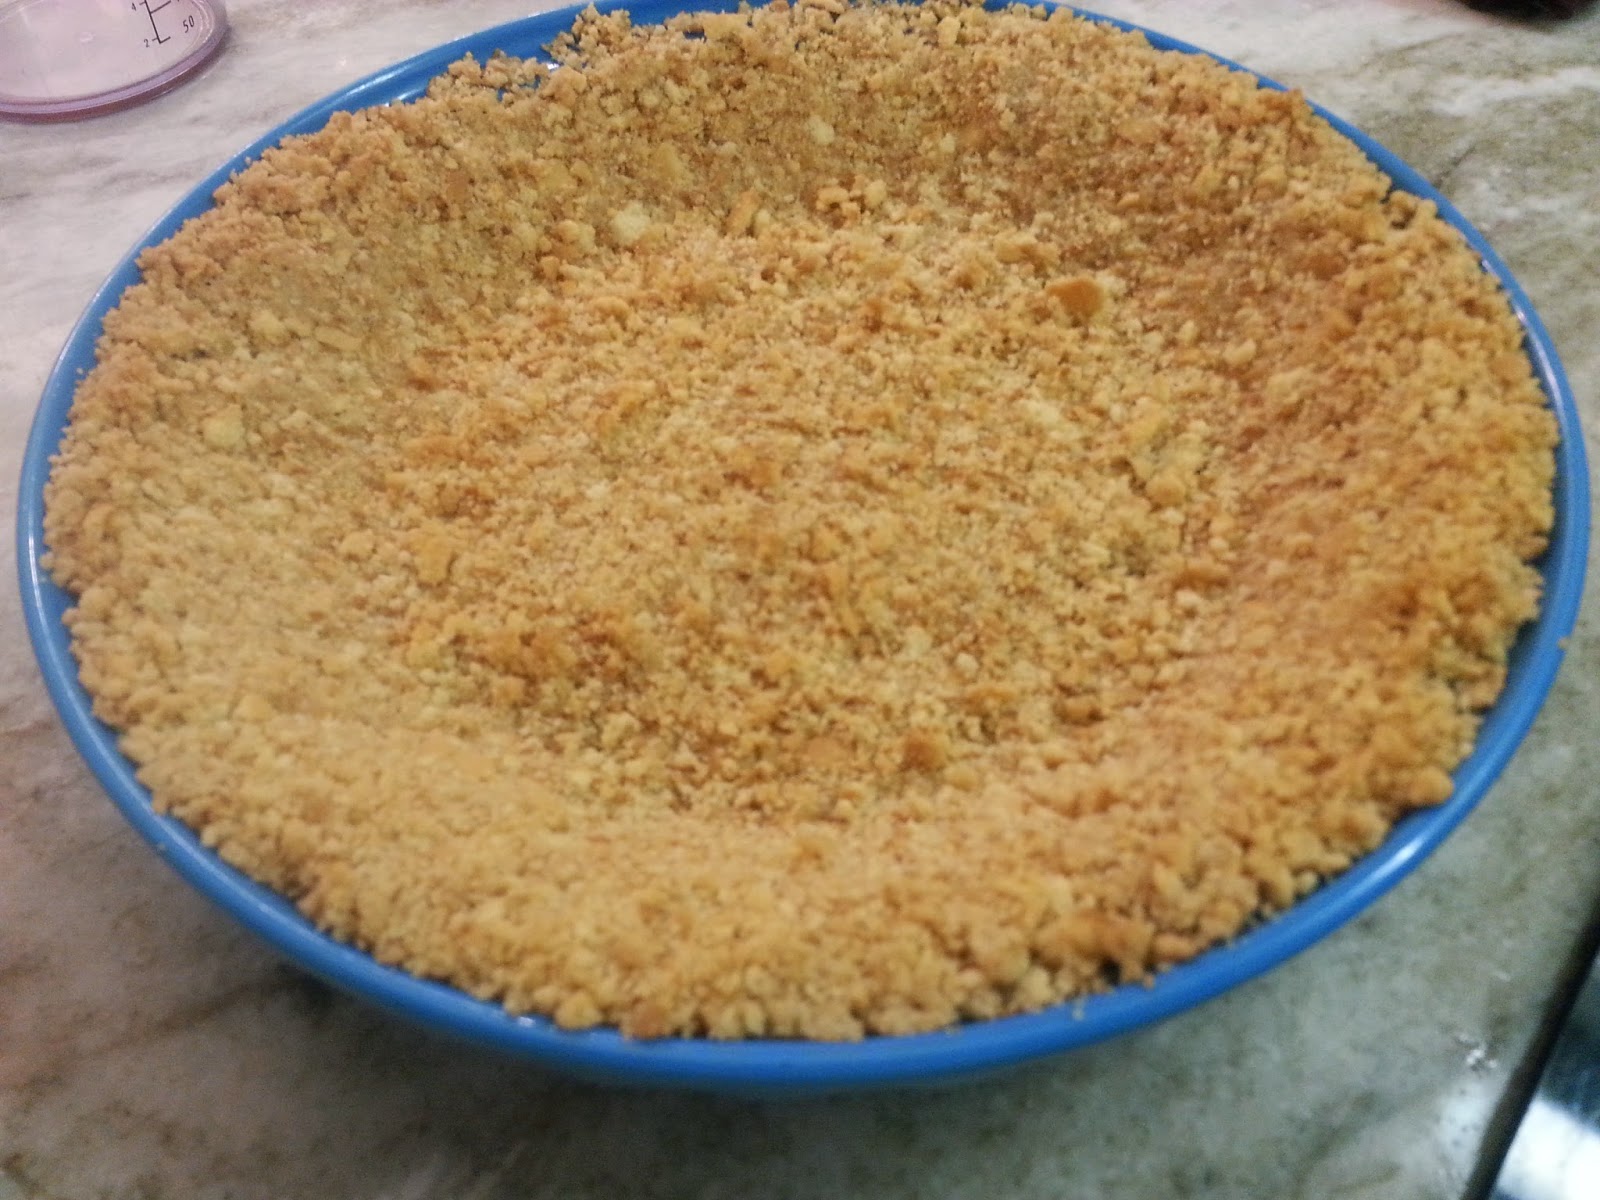
For the crust, I combined the wafers, softened butter, and sugar in a food processor, pulsed until well combined, pressed the mixture into a pie plate, and baked at 350°F for 10 minutes.


I set aside the crust to cool and put it in the fridge after that.  Using a completely cooled crust helps the filling set once it has been poured in.  I then chopped two bananas, tossed them with a sprinkling of lemon juice so that the acidity would counteract the browning, and covered them and set them aside.  


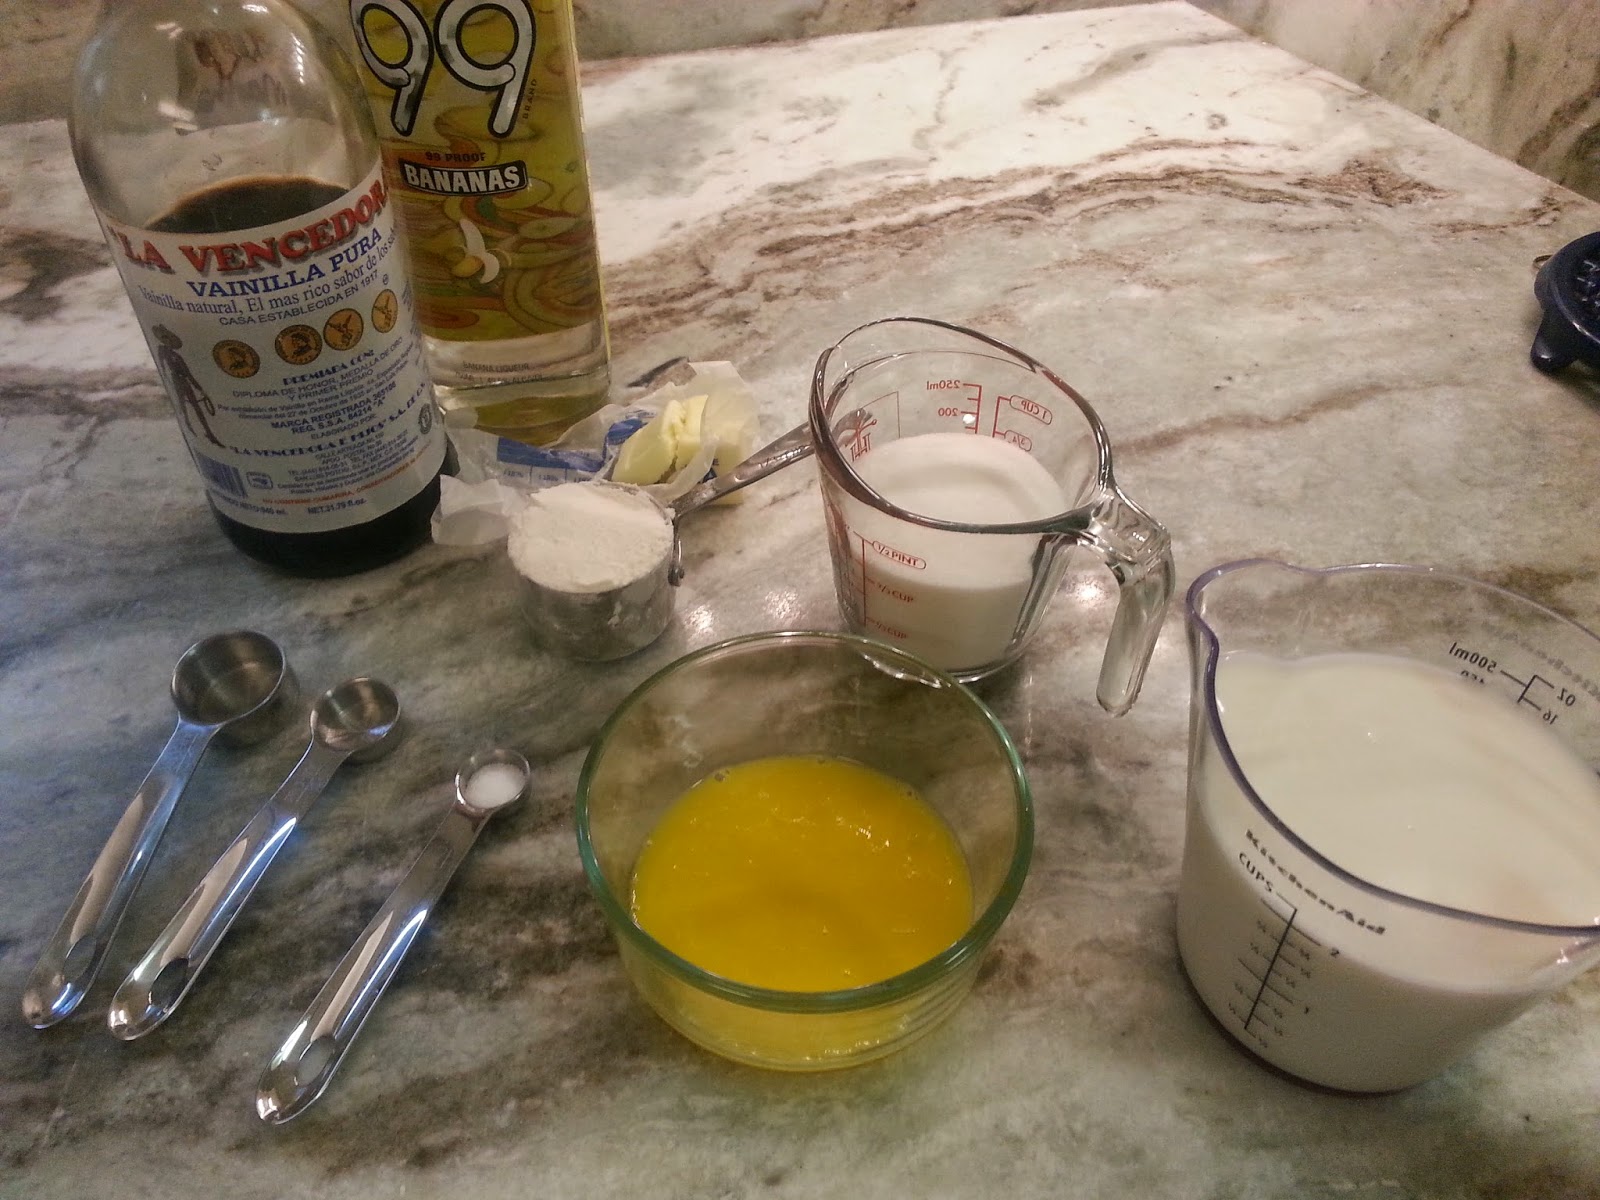
Then I put the dry ingredients in a saucepan and added the milk over medium heat, stirring and cooking until the mixture was bubbly.  You should notice a change in the appearance right before it boils--it will look almost like a shiny film at the top of the mixture--and then it will rapidly start thickening.  Some reviews said that the mixture didn't thicken properly; if using flour, this process does take a few more minutes than it does using cornstarch, 3 tbsp of which is a viable substitute.*

I tried to catch the mixture at the beginning and just before it boiled.
It might be hard to see the difference here.
Sometimes I think I need an extra pair of hands.

I tempered the eggs, ladling a little of the bubbling mixture into the eggs and stirring before pouring the yolks into the saucepan off the heat.  This raises the temperature of the yolks gradually and prevents scrambled eggs.

Pay no attention to the socked feet in front of the counter.

I placed it all back on the burner for about a minute, then took it off the heat to add the butter, vanilla, and liqueur, stirring until smooth.  Then I lined the crust with the banana slices and poured the filling on top of them.  I then placed the pie in the fridge.  It took about two hours to set completely.


Finally, I used the same whipped cream recipe I used for the French silk pie as a topping and sliced another banana on top.  


And then it was ready to serve! I would suggest using a large serving spoon instead of a pie server or spatula, though.  It really does come out like pudding...


DEEMS THIS RECIPE
As easy as very easy pie.  I mean pudding. I mean pie.


*I used flour, and it really did work, so I wouldn't panic if you don't keep cornstarch around!