Showing posts with label Chocolate. Show all posts

Sunday, June 7, 2015

Candy -and- Cake: Reese's Cupcakes.

I've never really liked peanut butter. I've never hated it. I think it's OK. If there's something else around to eat, I wouldn't first go for peanut butter. Even when paired with chocolate as in Reese's candy, I'd still usually rather have a different candy or dessert.

I think these cupcakes might have changed my mind.

While I have a few recipes for vanilla or birthday cakes that I honestly think taste just as good using a doctored-up cake mix, I've never found the same to be true for chocolate cake. Even from-scratch ones can easily turn out dry and crumbly or simply... somehow not chocolate-y. I don't know if I've mentioned it on this blog before, but the first time I made this chocolate cake/cupcake recipe from Foodess, I knew it would become my go-to. I don't even bother looking for other recipes anymore. Although the recipe has a lot of ingredients, it's also an easy recipe to follow. I used Hershey special dark cocoa powder this time, but it does work just as well with regular cocoa powder. For these cupcakes, I used this peanut butter frosting which uses the same basic formula as a regular buttercream. The most tedious part of the whole process was unwrapping the Reese's candy to go inside the cupcakes and to top them, and even that doesn't take too long. (Of course, if you're making more than one batch, it might get old... )


What I did that worked well/would do differently:
1) Next time I would fill the cupcake tins with more batter before putting the candy pieces inside and cover with less batter. Having the candy so close to the bottoms caused some of them to melt in the oven and then harden on the liners after baking, making it difficult to remove them without tearing off the bottom of the cupcakes.
2) I used unsalted butter for the frosting. In a previous cupcake post, I mentioned that this does make a substantial difference with buttercream in both taste and texture. So if at all possible, use unsalted butter.
3) I used Jif creamy peanut butter. I don't have sponsored posts, so I'm not advertising either Jif or Reese's in this post, but I will say that it turned out exactly as I wanted. I'd at least use a smooth and not a crunchy peanut butter. I think while the latter might taste good for those of you who like their peanut butter crunchier, it might be difficult to gauge the ending point of your frosting and make it harder to pipe.

For the cupcakes...


I first mixed together the flour, sugar, cocoa powder, baking soda, and salt. I did use a spatula to stir from the bottom a few times to thoroughly mix the ingredients together.


Then, I mixed in the eggs (having the eggs at room temperature makes them blend better without overmixing), buttermilk, melted butter, and vanilla. At this point, the batter became quite thick. 


I took the bowl off the mixer and stirred in the cup of hot coffee. At this point, the cake batter was much thinner. 


I filled lined cupcake tins about 1/4 way full with batter, placed a Reese's miniature in the center of each, and covered with more batter, until the tins were roughly 2/3 full. Next time, I would fill each more like halfway or even slightly more and then top with just a little batter. 


I baked at 375F for about 22 minutes, until the tops sprang back and the tines of a fork came out with just a few crumbs. I then immediately placed them in the freezer while I made the frosting (freezing right after baking holds in moisture). 


For the frosting, I beat the butter and peanut butter together until thoroughly combined and smooth, about a minute. 


I then added most of the confectioner's sugar, beat on medium speed for about two minutes, then added one tablespoon of milk, beat for about thirty seconds, then added the rest of the sugar and milk and beat for roughly another minute, until thick and smooth. If you want to test for consistency, put a scoop in the tip of a piping bag and see if you can squeeze it out onto a piece of parchment paper. If it comes out without applying too much pressure but still holds its shape, then go on and fill the piping bag more and decorate your cupcakes. If it's too thin or comes out of the tip almost on its own, scrape it from the parchment paper back into the bowl and beat in a little more confectioner's sugar (about a tablespoon at a time; there's probably no need to just dump another half cup in!). If you find you have to squeeze hard, do the same but add milk instead of sugar.


I piped the frosting onto the tops of the cupcakes and topped each with half of a Reese's miniature candy.


DEEMS THIS RECIPE:
... Much, much easier than pie. 


Wednesday, July 30, 2014

It's National Cheesecake Day!

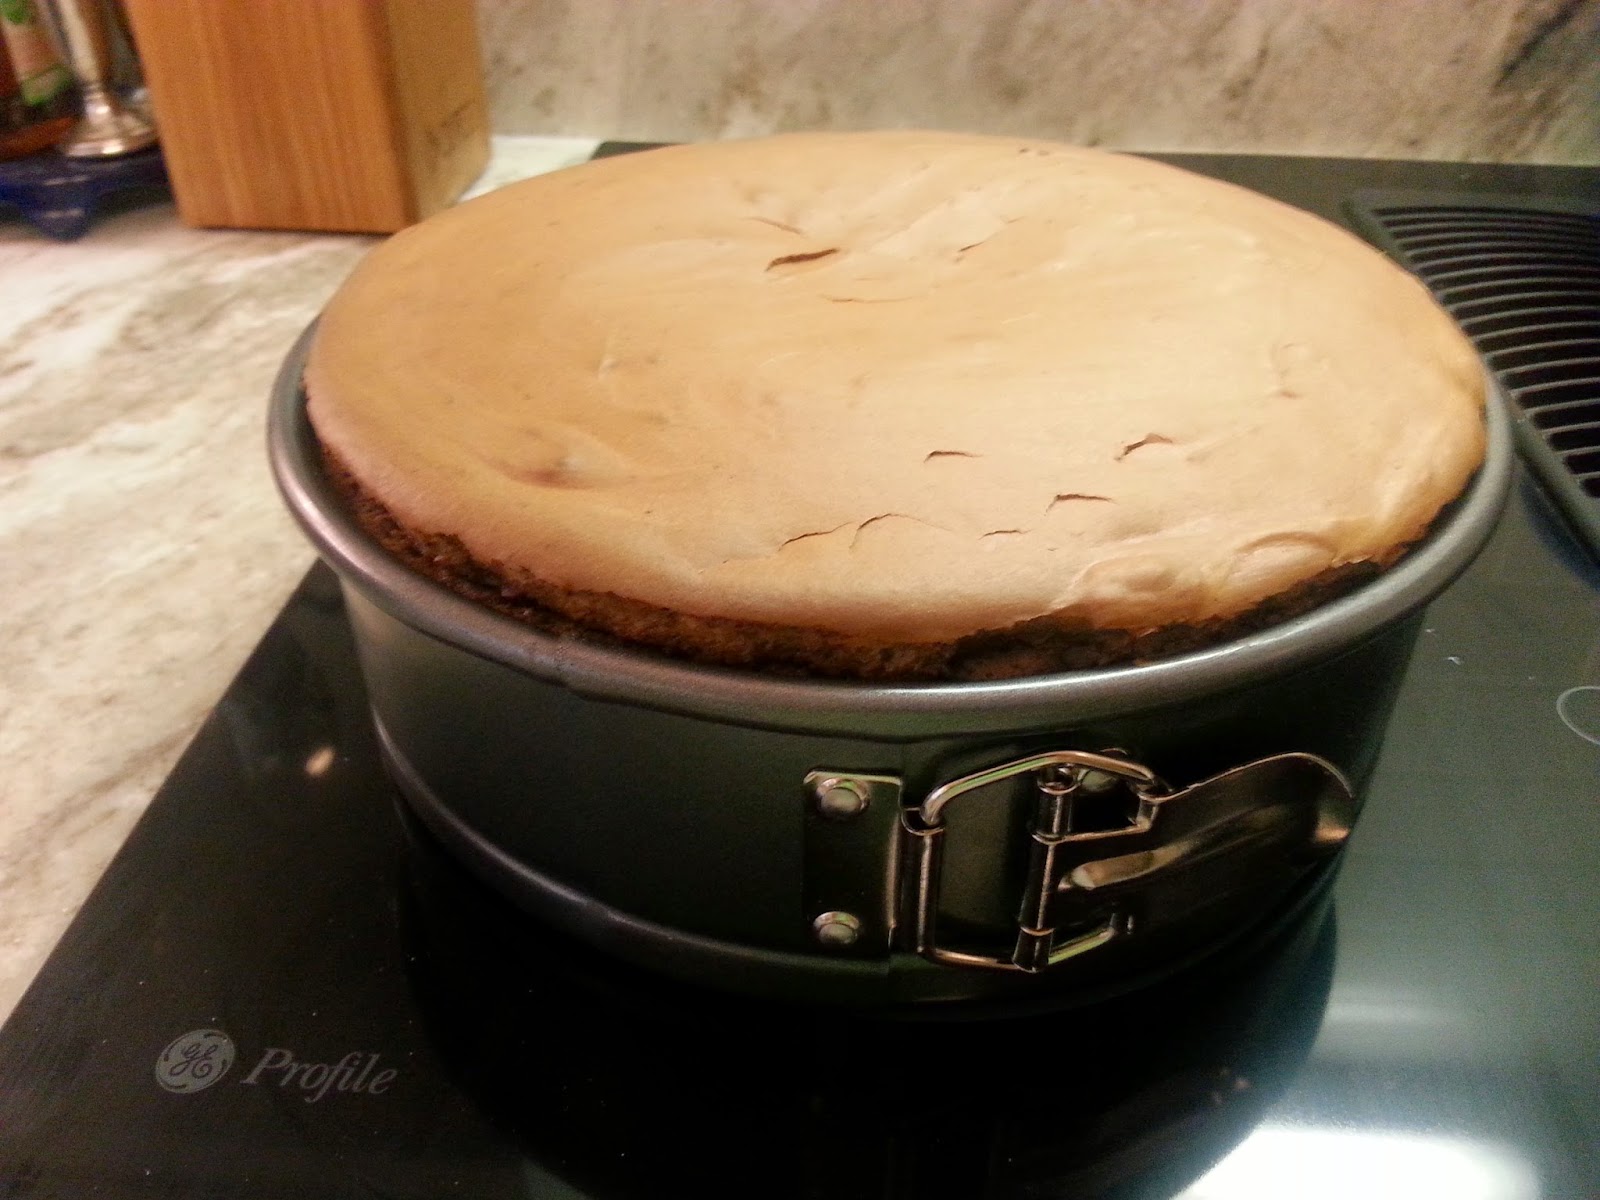
You might remember in the last post how I talked about avoiding recipes with light corn syrup?  Well, the first time I tried making marshmallow fluff, I used a recipe with it as an ingredient, and lo and behold, the "fluff" was more of a sticky sickly-sweet syrup.*  Then I found a recipe that used honey instead.  So in honor of today, I made s'more cheesecake... chocolate cheesecake with a graham cracker crust and marshmallow fluff topping.


What I did wrong:
1) Used corn syrup for the marshmallow fluff.  It's in most fluff recipes, but the one without it tasted so much better.  The hint of honey went well with the graham crackers, too.**
2) Unmolded the cheesecake too soon after removing it from the oven.  This was actually a mistake I made this time and not last time, because I got impatient.  The cheesecake will (and did) fall apart if it hasn't had enough time to cool.  Its sides should be pulling away from the sides of the springform pan.
3) Overbaked the cheesecake.  Again, it's a mistake I made this time.  However, baking a cheesecake for longer than directed--as long as it isn't crumbly and dry--rarely has any adverse effect on the final texture or taste.  I'm only including this because there is an "ideal" consistency that you'd like to see when taking it out of the oven.

Here is the recipe for the cheesecake itself.  Instead of 24 chocolate wafer cookies and 1 tablespoon of sugar, I used 1 1/2 cups crumbled graham crackers and 2 tablespoons of sugar.  I used Ghirardelli 60% bittersweet cocoa chocolate chips instead of the Scharffen Berger.

First, I preheated the oven to 350°F.  I crumbled the graham crackers and mixed them with the sugar and melted butter.  You can also use a food processor to mix everything together.  I pressed that into the bottom of a springform pan and baked for ten minutes until set.  I set that aside to cool.


I turned down the oven to 300°F.  Then I beat the cream cheese, sugar, and cocoa powder together until fluffy.


I added the eggs one at a time, beating lightly after each one just until no streaks of egg remained.  After the eggs are added, the consistency should be pudding-like and wobbly.


(Shhh... I cheat and melt the chocolate in a microwave.  You can do it in a double-boiler if you want.  I just heat it in short bursts so it doesn't burn until it is all melted.)


When the chocolate cooled but was still pourable and without lumps, I added it to the other ingredients along with the vanilla and mixed until everything was just blended.


I poured the mixture into the springform pan onto the crust and smoothed out the top. I baked it at 300°F for 20 minutes, then raised the temperature to 350°F and baked for another 40 minutes.  Ideally, the edges should be puffy and cake-like with the middle still jiggling.  Because the oven was running hot, the middle of mine formed a crust on top and puffed up slightly.  Although it still wobbled when I moved it, so I didn't have to throw it out.


Now, the unmolding.  You really need to let it cool enough before unmolding; if it's cool enough, the sides of the pan should just pop right off, and you can then slide the cheesecake from the base onto a serving plate.  But like I said, I got impatient.  So the cheesecake fell apart.  But I then... remolded?... it by putting it back in the springform pan and refrigerating it for an hour and then... reunmolded... it?  So it was salvaged!  Especially because I knew I was going to put fluff on top, I wasn't too worried about the crackly appearance.***


I then put the cheesecake back in the fridge to set.  If you've made the cheesecake in the afternoon, let it set overnight.  I made it in the morning, so I let it set in the fridge until the evening, about eight hours. Before taking it out, I made the marshmallow fluff.

I beat the egg whites and cream of tartar using a whisk attachment until soft peaks formed.  Eggs whip up easier at room temperature, so if you know you'll be making the fluff, set the eggs aside on the counter earlier in the afternoon.


I combined the honey, water, and sugar in a small saucepan and clipped a candy/deep-fry thermometer to the side.  I brought that to a boil over medium heat, and then let it cook until the thermometer reached 246°F.  


I took the sugar mixture off the heat, and while beating with the whisk on the lowest setting, I slowly poured it into the beaten egg whites.  I added the vanilla and beat on high for about seven minutes, until the fluff was thick, sticky, and shiny.


Finally, I removed the cheesecake from the fridge.  Over time, the cheesecake should look like it has "fallen" and solidified.  I spread a layer of the marshmallow fluff on top, crumbled another graham cracker on top of that, and sprinkled a few mini marshmallows over it.  And there you have it: s'more cheesecake.


DEEMS THIS RECIPE:
Actually easier than pie, even though I probably made it more difficult for myself.


*Say that three times fast.
**I may or may not have just eaten some of the fluff with graham crackers.
***9" cakes fit perfectly on this plate, so even though it's a Christmas plate, I use it all year round when I have baked goods that need to go in the fridge; there isn't enough room for a cake stand in there.


Friday, July 18, 2014

Just Add More Chocolate.

Have you ever experienced this terrible dilemma, one that forces to you to stop everything to sit down to weigh all the pros and cons of your options: brownies or cookies?  That was my conundrum.  Then I had a light bulb go off.  I replaced that before further brainstorming, because no one likes a gloomy kitchen.  Then neurons began firing together in an orderly fashion across synapses, and I started looking for chewy chocolate cookie recipes, thinking maybe a chocolate lover really can have it all.  Maybe you can have both brownies and cookies at the same time.  And you can, if you don't overcook these chocolate crinkle cookies. The first time I made them, the first batch came out too crunchy.  But the next batches have turned out very well.

What I did wrong the first time:
1)  Baked the cookies too long.  They should almost feel underdone when taken out of the oven to harden to a more brownie-like consistency.
2) Didn't add enough powdered sugar to really get "crinkles."
3) Used all the dough at once.  This dough can get sticky and difficult to work with if it warms up too much, so it does work best if chilled overnight or used in two batches.
What I changed:
Added a bag of chocolate chips.  I found the taste without extra chocolate too bland, but then again, I love chocolate.  If you like a more subtle chocolate taste, skip this addition.

First, I stirred the cocoa powder and sugar together, then added the vegetable oil. The addition of the oil won't make the mixture very wet.


Then I added the eggs one at a time, mixing each in lightly before adding the next. Adding eggs one at a time allows the fats in the oil to emulsify with the eggs.  The result is a smoother, easier-to-mix dough. After adding the eggs, I stirred in the vanilla.


After that, I mixed the dry ingredients together (flour, baking powder, and salt), and added them to the chocolate mixture.  I added half first, mixed, then added the other half, so that it would be easier to combine.


The dough should be very stiff at this point.  Finally, I poured in a 12 ounce bag of semisweet chocolate chips and folded them in before covering the dough and putting it in the fridge to chill.


After six hours*, I lined baking trays with parchment and preheated the oven to 350°F, poured the confectioner's sugar into a small bowl, and got out a scoop.  I took the dough out of the fridge and working quickly, formed the dough into balls and rolled them in the confectioner's sugar to thoroughly coat them, placing them on the parchment-lined sheets. I got two trays done before the dough warmed up enough that it started to stick to my hands, so I popped the rest of the dough back in the fridge to bake later.


I like to make small but thick round cookies, but you could flatten the balls out to form more traditional large crinkle cookies like the kind you might find in a bakery. You wouldn't get as many on the tray and would have to watch the cooking time, because flatter cookies bake faster.  I use the convection setting on our oven, so I take the cookies out after a short seven minutes.  They will still feel soft, but after sitting on the pan for another minute or two, you can easily lift them with a spatula, and they'll harden into something part cookie, part brownie, and all delicious.


DEEMS THIS RECIPE:
Easier than pie.


*Six hours was an arbitrary amount of time.  I decided I wanted to bake them after running errands and making dinner, which happened to be about six hours.  Just remember to let the dough to chill for at least four.

N.B.: I'll be experimenting with another camera and the settings on my phone camera over the next few weeks.  Please bear with me, as the quality of pictures may fluctuate until I determine the best setup!